With web and multimedia design there is the opportunity to add a little fun and creativity to your logo by creating a simple animation effect. Obviously this process isn’t limited to just your logo; animating an element can help draw attention to a particular object or area of a webpage or digital presentation.
This tutorial covers the process of animating the lemon to fall into place with a characteristic thud using squash and stretch techniques, then pulsating at an increasing rate until suddenly popping. The animation then begins again with the lemon falling into place.
To start, right click on the logo art below and save in folder on flash drive. Open it up in Adobe Illustrator and rasterize the image. Save the image.
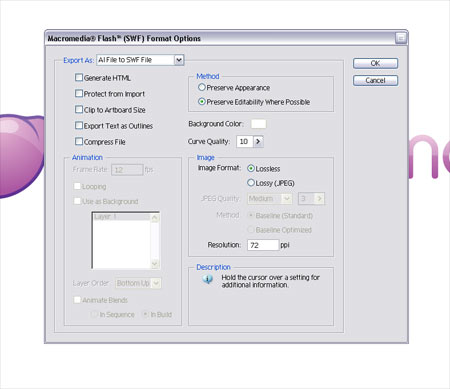
Export the vector logo file as a Macromedia SWF file and select the Preserve Editability checkbox.
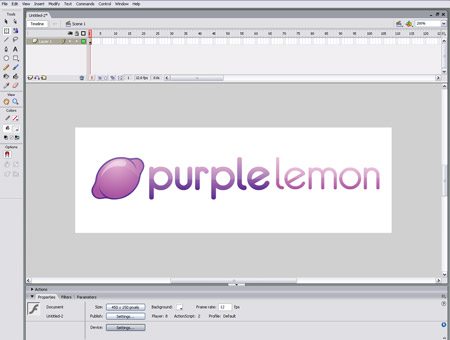
Open Macromedia Flash and create a new document with your desired dimensions, and ensure the Frame Rate is set to 24fps for a smooth animation.
File > Import > Import to Stage and navigate to your logo SWF file. This will place the logo in vector format on the Flash artboard.
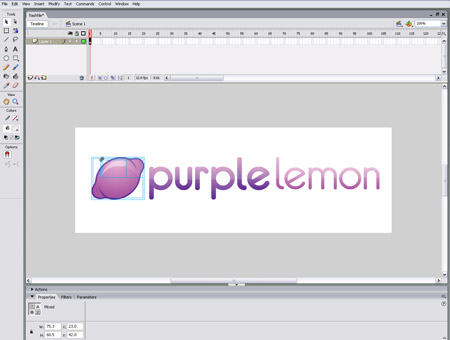
Select all the objects that make up the lemon shape and group them (CTRL/CMD + G), then Cut the lemon and Paste on a new layer. Remember to name your layers accordingly for future reference.
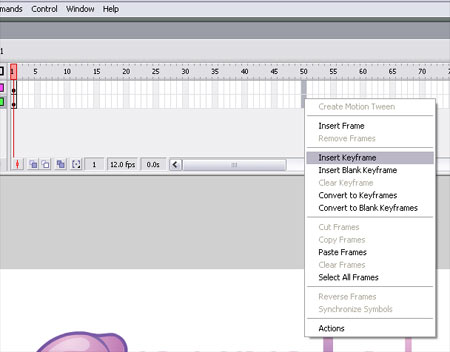
Highlight frame 50 on both layers and Insert a Keyframe (Right Click > Insert Keyframe), this gives use some space on the timeline to work with.
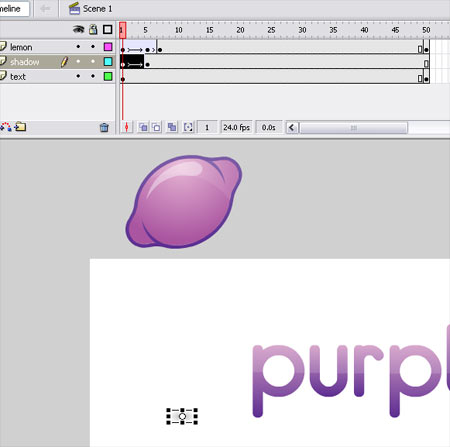
On frame one, Copy the lemon then drag it off the stage vertically. Insert a Keyframe at frame 5 and Edit > Paste In Place the lemon, delete the top version of the lemon on this frame.
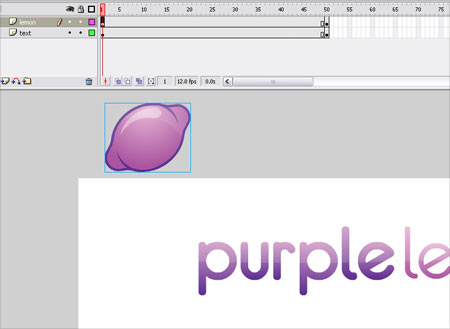
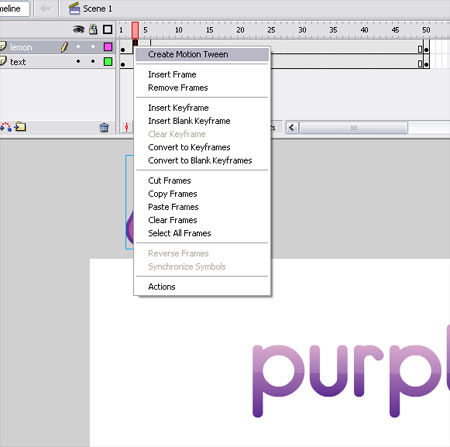
Right Click between these two Keyframes and select Create Motion Tween. You will see the blue tint and arrow symbolising the tween between these frames.
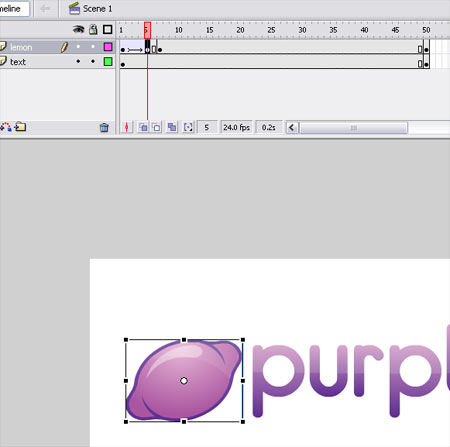
Insert a Keyframe at frame 7, then back on frame 5 squash the lemon down slightly with the Free Transform Tool, hold ALT to move just one axis.
Create a Motion Tween between frames 5 and 7.
Create a new layer under the lemon named Shadow. On this layer draw an oval with a grey to white gradient fro the center. Use the Gradient Transform Tool to edit the shape of the gradient to give perspective.
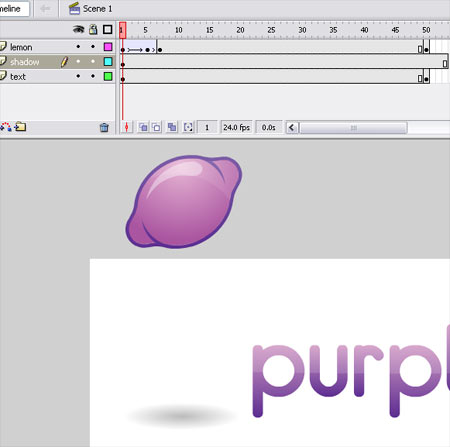
Insert a Keyframe at frame 5 on this layer and scale down the shadow to give the impression that the lemon is far away. Create a Motion Tween between these frames.
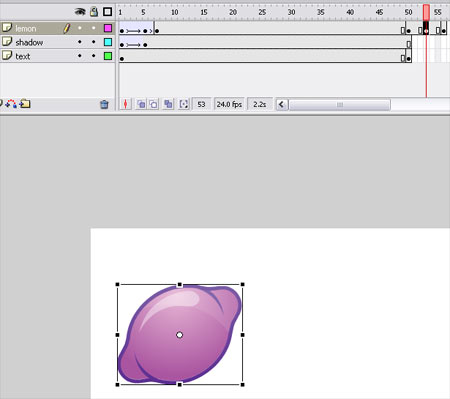
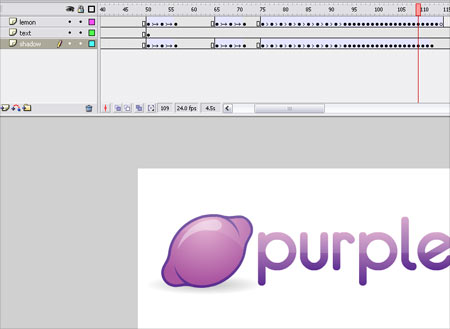
To begin with the pulsation of the lemon up to the explosion, insert Keyframes at frames 53 and 56. Scale up the lemon slightly on frame 53. Create a Motion Tween between frames 50-56.
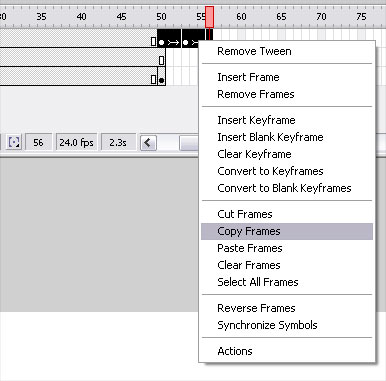
Copy these frames and Paste them in at frame 65 for the pulse to repeat.

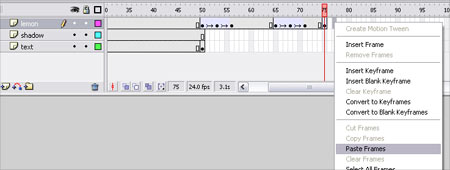
To create a faster pulsation insert a Keyframe at 75, then Copy frame 68 and Paste in at frame 77.
Copy the frames between 75-77 and paste in at frames 79, 82, 85 and 91 to repeat the pulsation at the slightly quicker pace.
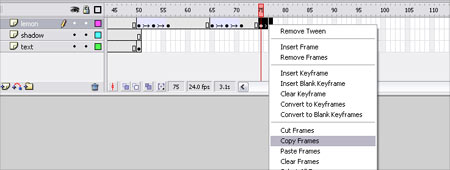
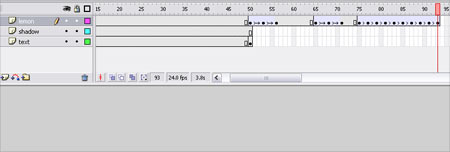
Create an even quicker pulsation by Copying frame 77 and Pasting in at frame 94, Copy frame 77 and Paste in at 95, then Copy frames 94-95. Paste these in at 96, 98, 100, 102, 104, 106, 108 and 110.
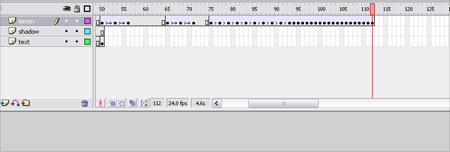
To finally make the lemon pop and disappear insert a Keyframe at 112 and scale up the lemon. In the properties panel change the Color to Alpha and set at 50%.

Insert a Blank Keyframe (Right Click > Insert Blank Keyframe) at frame 114.
Bring the Shadow and Logo layers up to present on the timeline by inserting frames (F5) at frame 150.
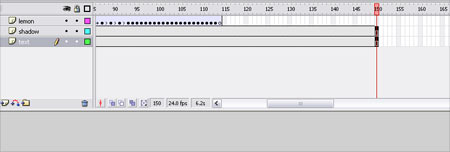
If you play this animation (ENTER) you will see how all the Motion Tweens give the lemon it’s animation, however the same must be done to the shadow to mimic the shape of the lemon.
On the Shadow layer insert Keyframes to match the Lemon layer above and scale the shadow up appropriately on frame 53. Create Motion Tweens between 50-55.
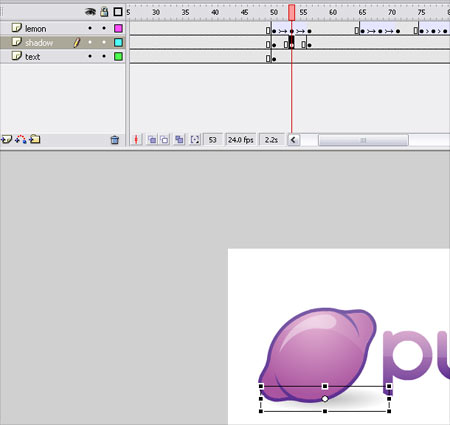
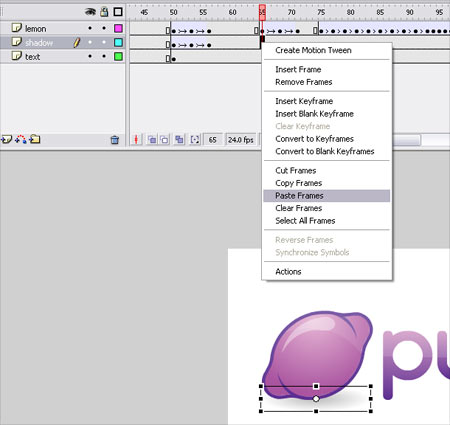
Copy frames 50-55 and paste at frame 65.
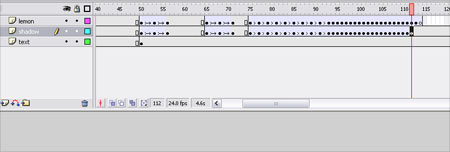
Repeat this process as you did with the lemon originally, until the shadow takes the same pulsation movement as the lemon.
Insert a Blank Keyframe at frame 113.
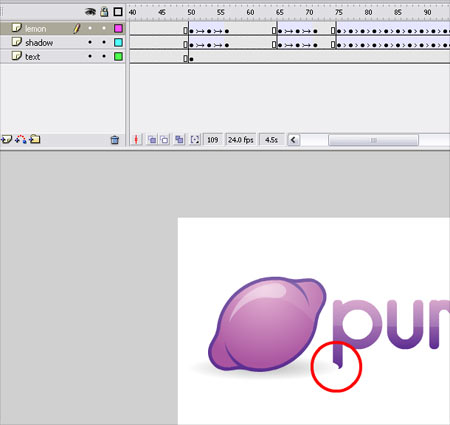
One final tweek is to fix the white overlap of the shadow on the logo text. Simply drage the Text layer above the Shadow layer.
Press CTRL/CMD + ENTER to publish the animation as an SWF.
