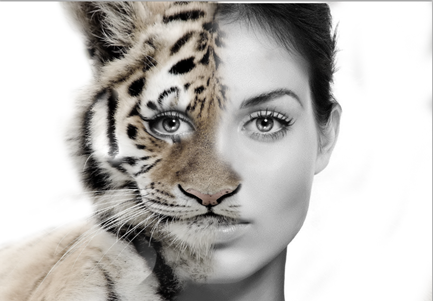
In this assignment you are going to create an animal-human portrait. Use a portrait taken of you by your Instructor in class. Search for an “animal portrait” in google that is the same POV. Download and save your animal portrait to a folder on your flash called “AnimalHumanPortrait”.
Below are two video links to lessons that walk you through the process of combining these two images. If you would rather read through the assignment there is a written tutorial below. Good information can be found from all of the tutorials. In the end you want to have a full animal-human portrait. Keep in mind that it needs to look like a human portrait – not an animal portrait – when completed. This lesson is similar to the “Perfect Portrait” already completed.
https://www.photoshopgurus.com/forum/forum-tutorials/45594-combining-animal-human-faces.html
For this you will need a portrait picture and a picture of an animal. I choose a tiger. Take a portrait (using the Photo Studio) of your friend (or have them take a portrait of you) for this assignment. Be sure the portrait is clear and the face is in a similar pose as the animal portrait you are using.
Open up PhotoShop and open your human portrait. Duplicate the background layer.
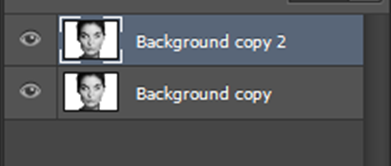
Next you need to put your image of an animal over the top of the portrait layers, the picture should not be smaller than portrait picture as we are trying to join the together it would look strange if the animals features look really small compared to the portrait. Change the opacity to about 50% so you can see the portrait though the image.
We are going to need to warp the animal image so that the eyes and nose are roughly in line with the portraits eyes and nose. To do this, go to Edit then down to transform and then down to warp. You will see boxes appear over your image you can drag these about and it move that part of the image with it so move the nose and eyes into place and hit enter.

Once you are happy with the alignment of the nose and eyes then its time to add a layer mask. To apply the layer mask select the animal layer then go to the layer tab and down to Layer Mask and then to the first option reveal all. This means when you paint in black onto the animal layer it will start to disappear, you can use white to reverse this method. You are going to want to paint in black over the right hand side of the image and this will then make the portrait show though.
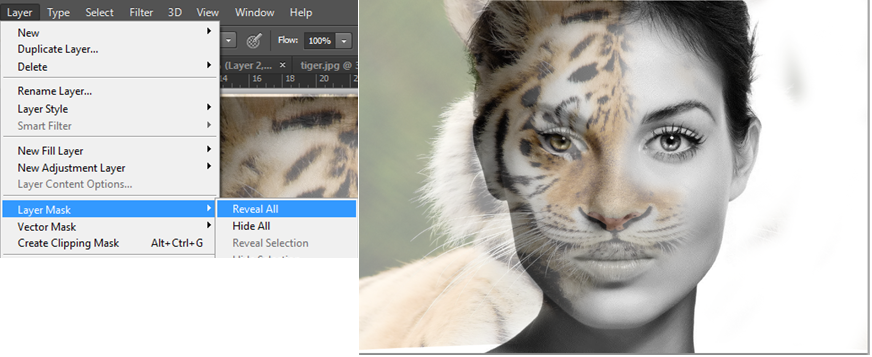
To make it look more like we have morphed the two images together you are going to want to select your paintbrush and make the size smaller. Then change it to black ink and draw over where the portraits eye is so that you can see it instead of the animals.
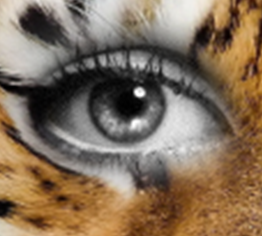
After that I decided to get rid of the old background that was on the animal image, to do this I just got the paint brush tool out again and selected black ink and went back to the layer mask and went over any background area I could find it was easy for me as the background colour was green not white.
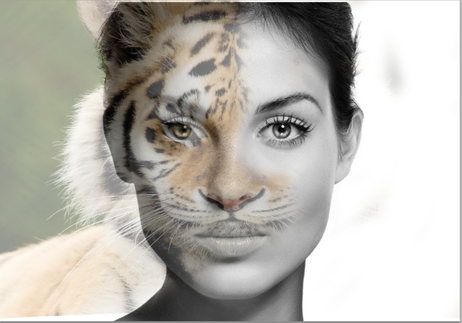
After I had removed the background and changed the opacity back to 100% I was finished. Now you could leave it how it is or you might want to change the colours a bit. I found that adding a curve to it or a saturation really made it stand out.
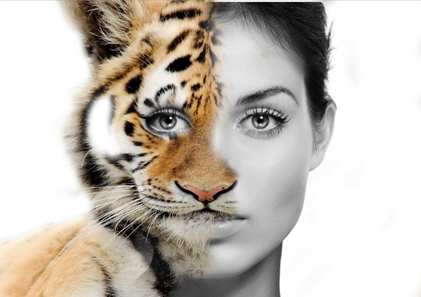
With a curve adjustment:
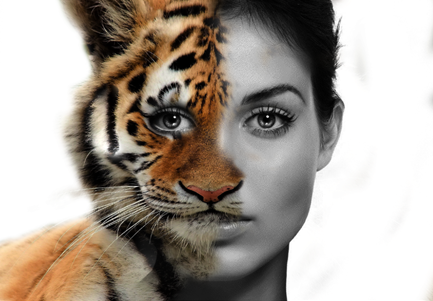
With a saturation adjustment:
